Andy went along to Music Hack Day, London. Here‘s the result of that weekend’s hacking.

The Airman

Generative audio from found 16mm film.

Projecting the found footage of “The Airman” using a scratch built film projector (created using a few parts from a defunct projector, 3d printed parts and threaded rod).

The film is projected onto a small screen and captured by a USB webcam feeding into Quartz Composer to process the footage and then capture pixel values, which are then passed by midi to Pure Data.

The PD sketch was created by Martin Brinkmann, and adapted to accept the passed midi controller values to adjust the sounds being created.

In future, I hope to get the film sync'd with a strobing light source, to produce a still image; and to construct a PD (or similar) sketch from scratch to generate the music.

Over the Air this year saw Andy join forces with Simon and Steven of the Boffin Lab and Paul Johnston to do “something involving iBeacons”!

We very quickly decided that the advertised uses of the technology (retail, museums etc) weren't very interesting and we should build a game instead. iBeacons allow you to use proximity to either standalone beacons (e.g. Estimote), or to other devices that support the profile (later iOS devices running iOS7).

The idea that emerged was game based on viruses, where the aim was to infect everyone else without being infected yourself. The game mechanic would be (for extra geek points) Rock-Paper-Scissors-Lizard-Spock, where when coming into close proximity with another player, you would have to choose one of your viruses to play against them with, and then fight for who infects who.

iBeacons in the end turned out to be harder to get working reliably than we‘d first anticipated and are very slow to recognise the change in proximity (probably due to limitations or configuration of the underlying Bluetooth LE system). However, we presented the game and won the ’Hardware - Best use of other features prize'! 👍

iBeacons are definitely something Steamshift will be revisiting in the future.

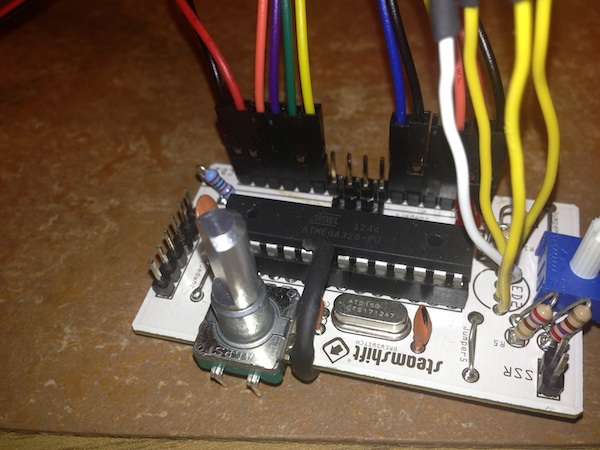
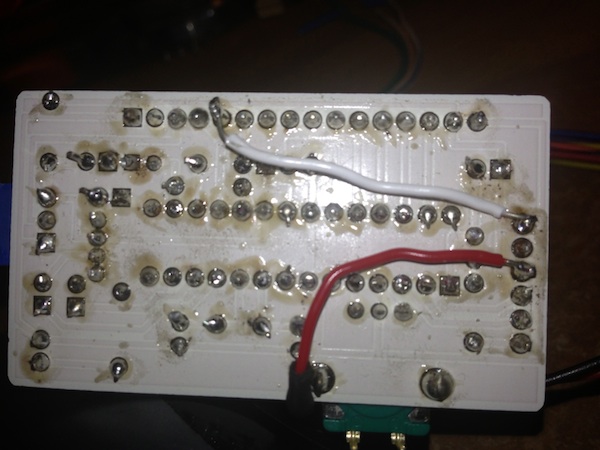
The brewswitch boards weren't totally right; no major issues but not where I want them to be.

First up, I didn't take advantage of the fact that Fritzing manufactured boards can have tracks on either side; meaning that I ended up with a number of jumpers. Not a major issue, but more stuff to solder up.

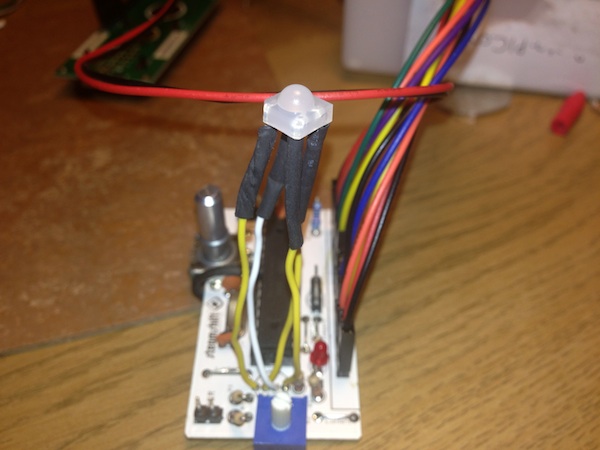
The 2nd issue is that I'd just used an RGB Led from Fritzing and not checked whether it was common anode or cathode. Turns out my board needs a common anode, and the LEDs I bought were common cathode. So in the interests of getting a board working, I found a common anode LED and soldered it up with long wire legs so it would fit.

Brewswitch Mk2

3rd up, OOPS! I managed in the design to connect GND and +V on the Atmega chip. A little creative soldering and that was resolved too!

Brewswitch Mk2

The 4th issue was that I missed that the LCD required a link to ground from pin 5. Again, no problem with a bit of wiring.

Brewswitch Mk2

And finally, I found that I'd forgotten to put a resistor connecting the data pin of the temperature to +5v. I wired that in line, and off we went.

All of these issues will be rectified in the next version of the boards, but considering its my first crack at getting something made, I'm pretty pleased with the results. Especially as it does actually work!

Big up to SoMakeIt - the Southampton maker space; if you're in this part of the world and into making, you need to get yourself along!

As much as I would have loved to go to WWDC this year, I decided that if I had a couple of grand spare (haha!) or perhaps rather less, that I would rather spend it on being part of the maker revolution - hence the eShapeOko post from the other day; and now 3d printing.

As a first foray into this field, I'm lucky enough as a member of SoMakeIt to have access to the 3D printer that member Chris has lent to the space (in part in thanks for all the expertise from Bracken and others that has helped get it running). I figured that a good place to start (apart from the inevitable Minecraft stuff that my son would undoubtedly like me to print) would be a few bits for the eShapeOko.

Thanks to Thingiverse I was able to find this cable chain which looks ideal for keeping the router's cables out of the way whilst its moving, a series of pen holders and an Arduino (Uno) Altoids Insert.

In terms of software, we need Slic3r and Printrun; I'm running these jobs using a mac so needed the Mac binary of Printrun available here.

And thanks to standing on the shoulders of those who've been there before I was able to get Slic3r configured using a config file pre-prepared for the SoMakeIt 3d-printer.

Starting with the simplest model - the Arduino altoids insert - I downloaded the .stl file, imported it into the configured slic3r app and exported the GCode.

With that I was ready to import into Pronterface and do my print! (Next time I'll cover the printing itself)

This hacklet consists of a couple of images from my time playing with Fritzing to design the next iteration of the Brew Temperature Switch.

So, here is BrewSwitch Mk2 (breadboard version):

Brewswitch Mk2

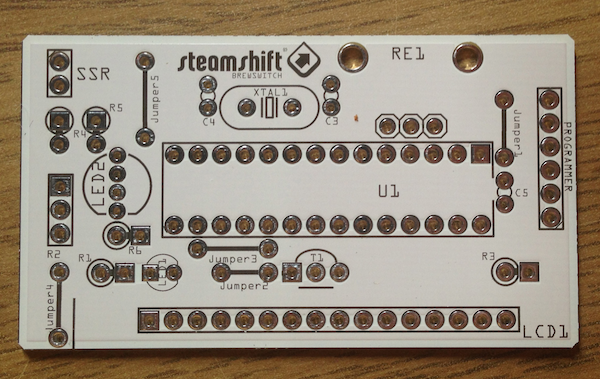
and here is the PCB:

Brewswitch Mk2

The next hacklet is getting arduino and raspberry pi working together.

First up, I found that my Atmega chip was unflashed, so I needed to burn the bootloader this tutorial made it very easy!

Then I used this tutorial for setting up the software and then using a combination of this breadboard arduino tutorial, and the photo from the follow up from the initial tutorial.

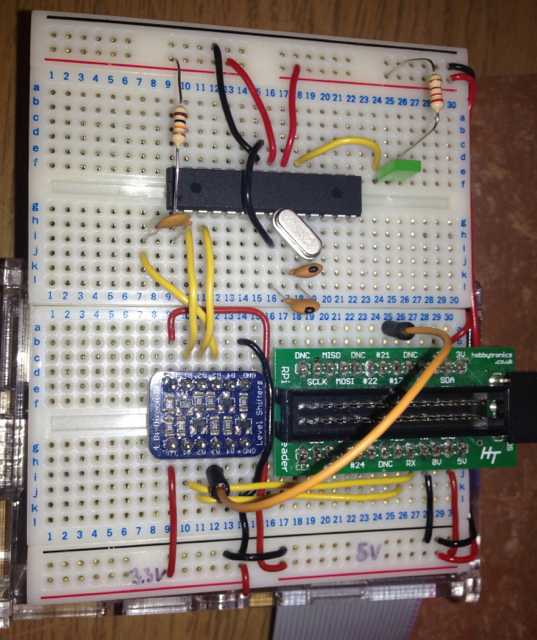
However, the bit that neither tutorial mentioned, but in retrospect should have been obvious was connecting power to the logic-level converter.

So, here's what I ended up with:

Copyright © 2013 - Brothers Bennett - Powered by Hexo
- Ported theme GreyShade -